Sunday, 17 June 2007

New Beginnings

Heres the original piece that i created for the CIA event next month, as i mentioned before, i didnt feel too happy about it when it was finished, so i quickly moved on to the Moonchild piece. But as everything went along, this was felt to have more impact in relation to the show, so this is the one thats going to be used.

Just a few images to show the process- (i will probably stop doing these soon) heres a compilation of the original drawing after scaning and some piecing together. (my scanner is an old A4 thats really on its last legs.) Next is the gown and dog after they had been pretty much finished and their paths applied, followed by a wip of the baby creature.


Next is a view of the background landscape painting, its pretty much completed at this point, just some additional touches were made and then it was brought into the final file for the last stages.


After everything was brought together in one massive file i proceeded to make subtle changes to the lighting with some curves, levels etc. The red hummingbirds were the last element to go in on the top layer. Below is the final piece followed by some detail shots at 70%. Im gonna try and get off my ass this week and get some sketches done for a series of portraits i have in mind. Watch this space.


Monday, 4 June 2007

Moonchild, New work

Next month, CIA will be putting on a summer show, this was an alternate piece i put forward for the show, i dont think its going to be used in the show itself, but it may find a home elsewhere.. i will post the other one here at a later date.

Fortunately i kept a lot of the layered files, (the exhibition called for this work to be A2 and the wip files are currently taking up around 2gb on my HD!) which enables me to show you some of the process for this picture. Hopefully you'll find it interesting. After a lot of rough thumbnail sketches i arrived at a composition that i liked and went ahead getting it drawn up in a little more detail, to better get a sense of space i started drawing it out on A2, just cheap cartridge paper and a soft pencil. Below is the 2 pencil drawings, the girl is just giving a sense of scale and her features, the rest of her is left pretty loose, the second is a shot of the trees that i brought in and duplicated, on the right is a more fleshed out rough of the girl, lighting and position blocked in.


Below is a single shot of the trees and moon being painted, this is done as a grayscale document in painter so that it can be used as a channel in photoshop.


As i described in my previous post, the majority of elements are worked up in seperate files and then brought into a master file, below is a sequential showing the original trees (the hills and moon were added after i had completed these grabs and dropped in on the base layer), it shows the kimono vector outline, the channel highlights, then the skin and the hair added.


All that is needed is some additional details, flower pattern on the dress, falling blossoms, necklace, shadows etc and overall lighting and levels and its done. Below is the finished painting and a few detail shots.


Saturday, 26 May 2007

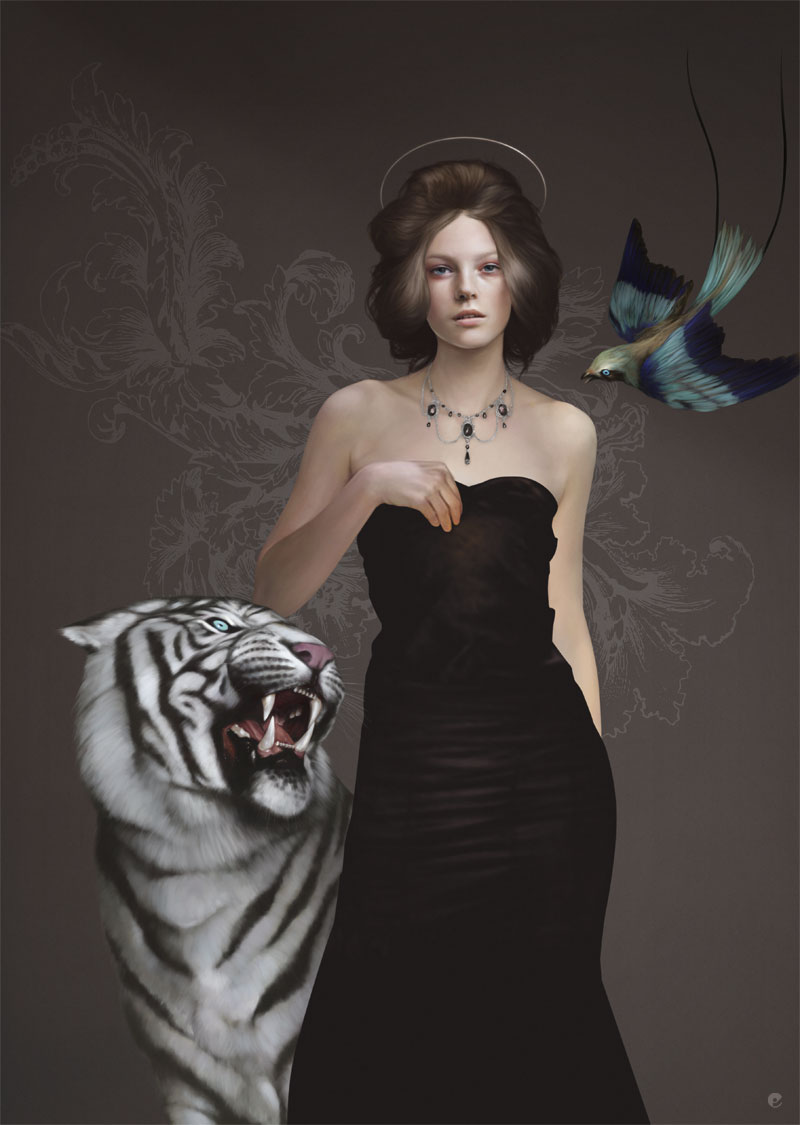
New work, untitled3

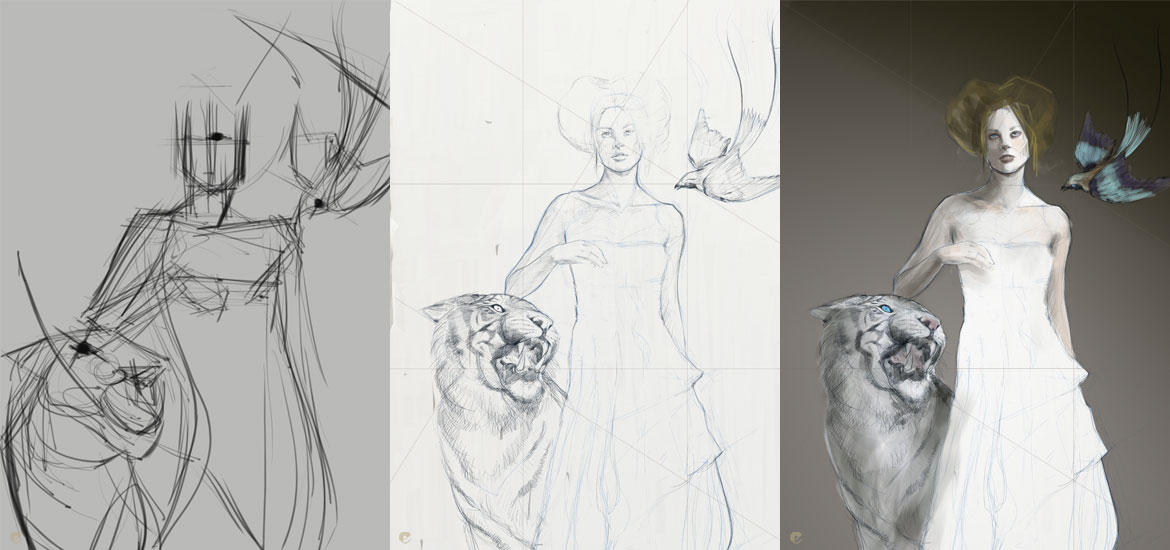
As a starting point heres a reasonable walkthrough / process on a recent piece. I get asked about my process so i will just use this post to give you a rundown on how i go about doing things. I work primarily in painter and photoshop, the latter really for smaller details, colour correction, levels etc etc. Coming from a tradional painting background i find painters ability to mix and lay down paint more intuitive.


For this piece i just went straight into sketching the composition digitally, sometimes i do roughs with good old paper and pencil, it just depends on how strong the image is in my mind. As you can see from the above, after getting a rough compostition down and finalised i then go on to do a hi res drawing- in this instance it was done in artrage which is a great and unbeliveably cheap app. Next its a rough colourkey.

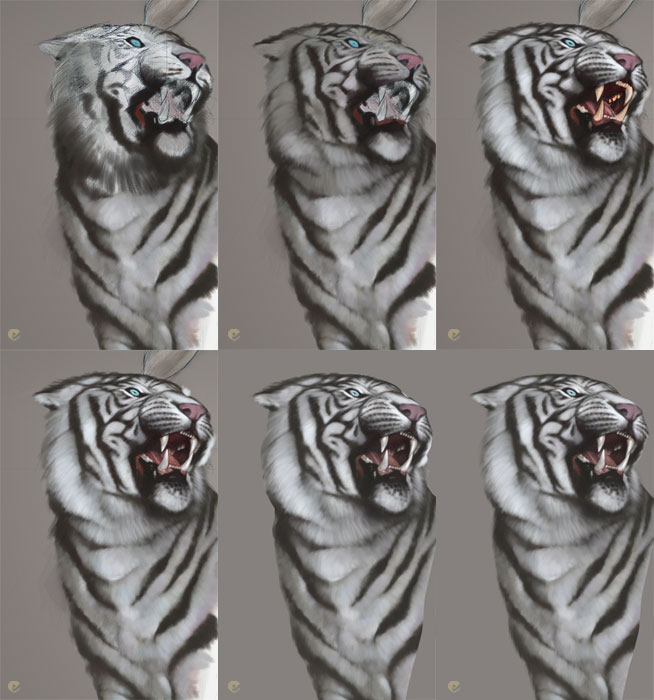
I actually tend to work on each element in a seperate file and then bring everything together in a final file once each piece is about 90% of the way completed. Below is a sequential image of the tiger being painted. The last 2 frames show it after a clipping path has been added, then to soften the edges, a layer mask is added and brushed around to help that layer to sit with the rest of the painting.


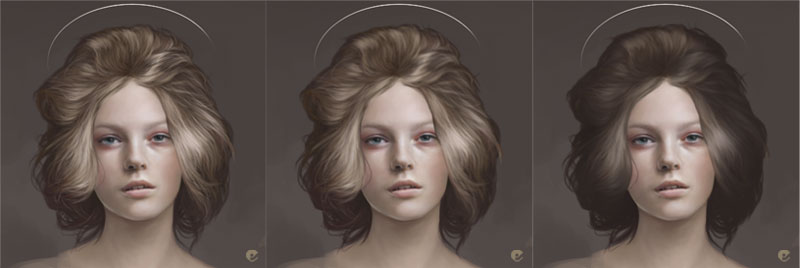
Heres a quick look at the hair in progress... (the halo is just there as a rough placer at this point)


The 3 main elements were done in much the same way, tiger, girls skin and bird all painted in painter in seperate files and then brought into a final file.


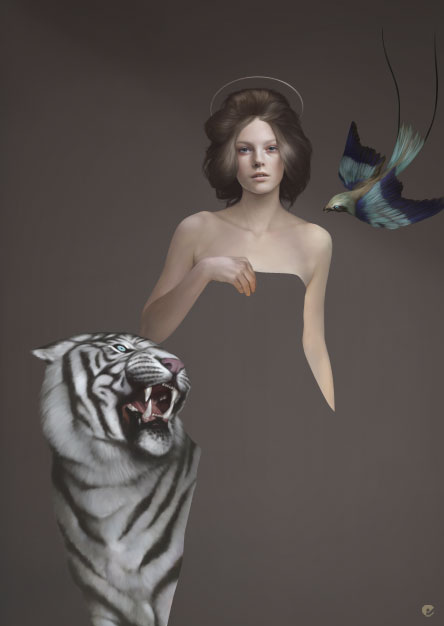
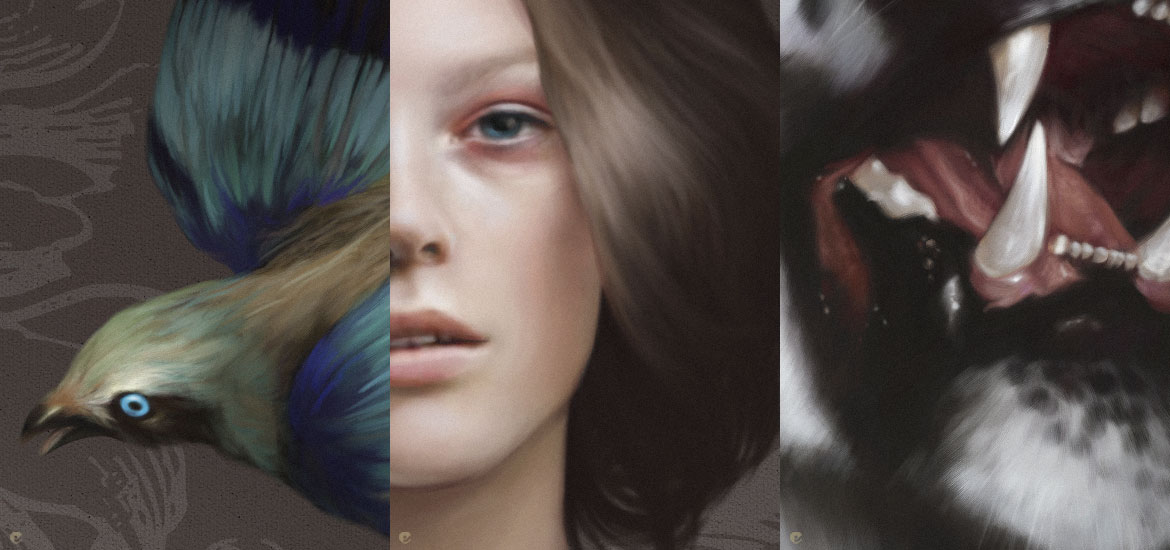
After bringing the elements together and roughing in the background i added the dress, necklace, halo and background pattern, then added additional lighting highlights, midtones and shadows on seperate layers, flattened everything down and copied it to a new file where i added some noise to soften the image slightly and thats it done. Below is the final image together with some detail shots.


Hello all

After a bit of badgering from people i thought it was high time i pulled my finger out and sorted out a blog where i can post works in progress, sketches and finished works all before it hits my portfolio site mostlywanted. With any luck i will actually be able to keep this reasonably up to date unlike my portfolio which seems to be stuck in a rut for months at a time. Keep an eye out for some new work posts soon.